 Tweet
Tweet
I have posted this here with permission from the original author JRN156 I did NOT write this tutorial.
I wanted to share my experience trying out Sponge Camo and found only a few references on some other forums so I thought I would post a how to.
Materials-
Khaki, OD, and Oregano Rustoleum or Krylon
Sponge-Walmart craft section buy the one that look like natural sponges.
Gloves
A likely victim
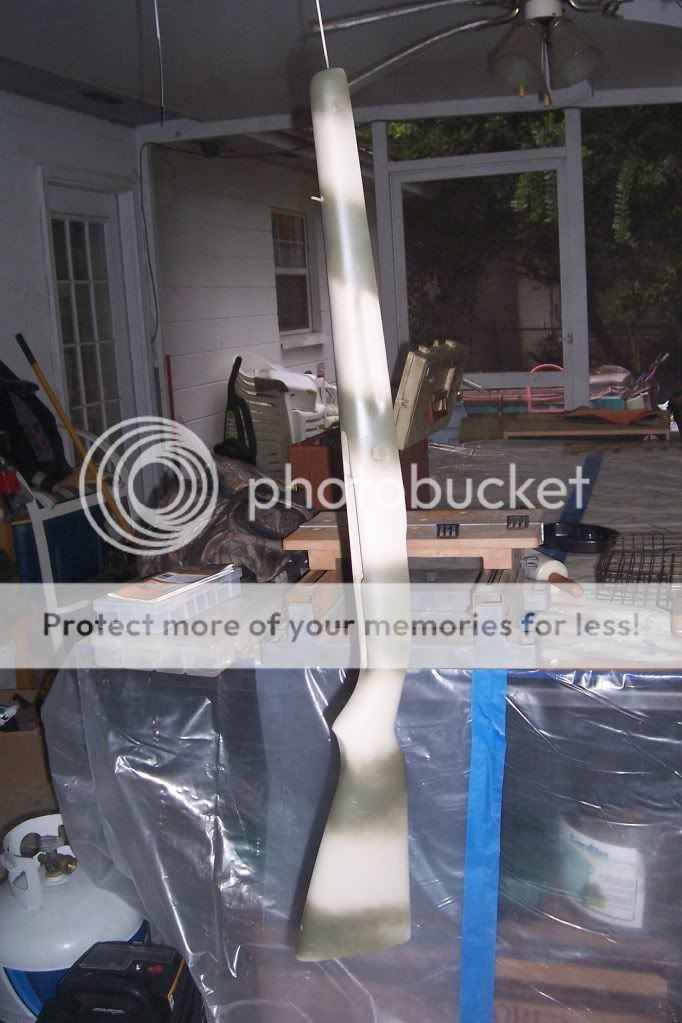
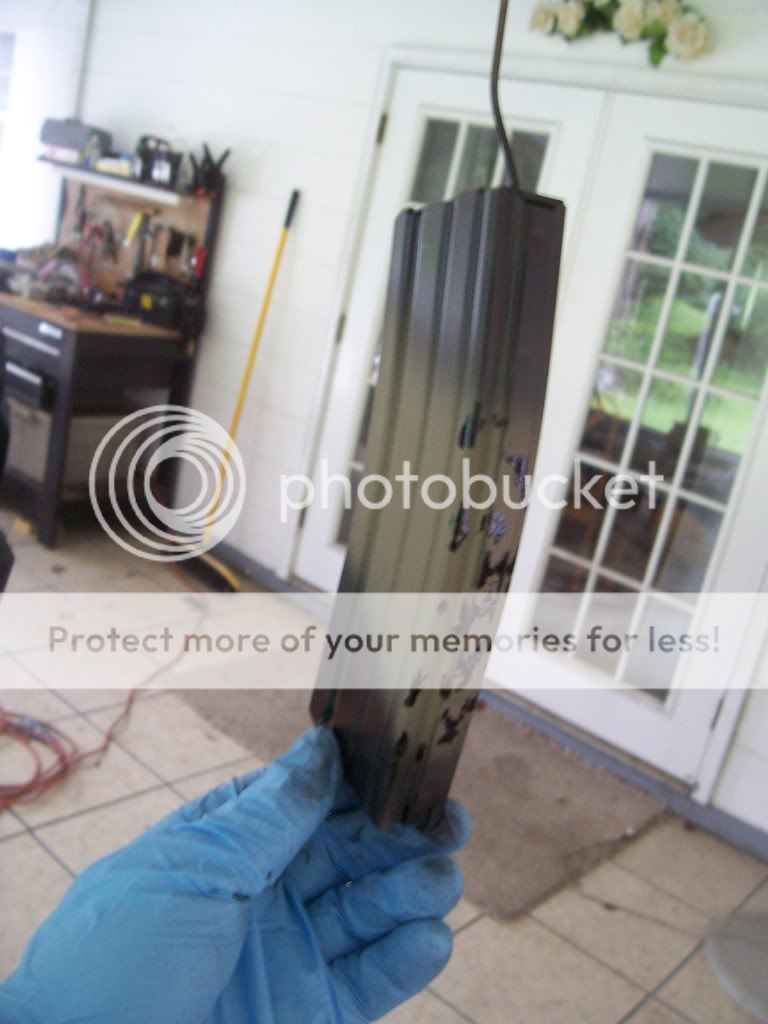
I started by painting an old stock with a base coat of khaki.

I then painted random but fairly evenly spaced stripes of OD over the khaki base coat.
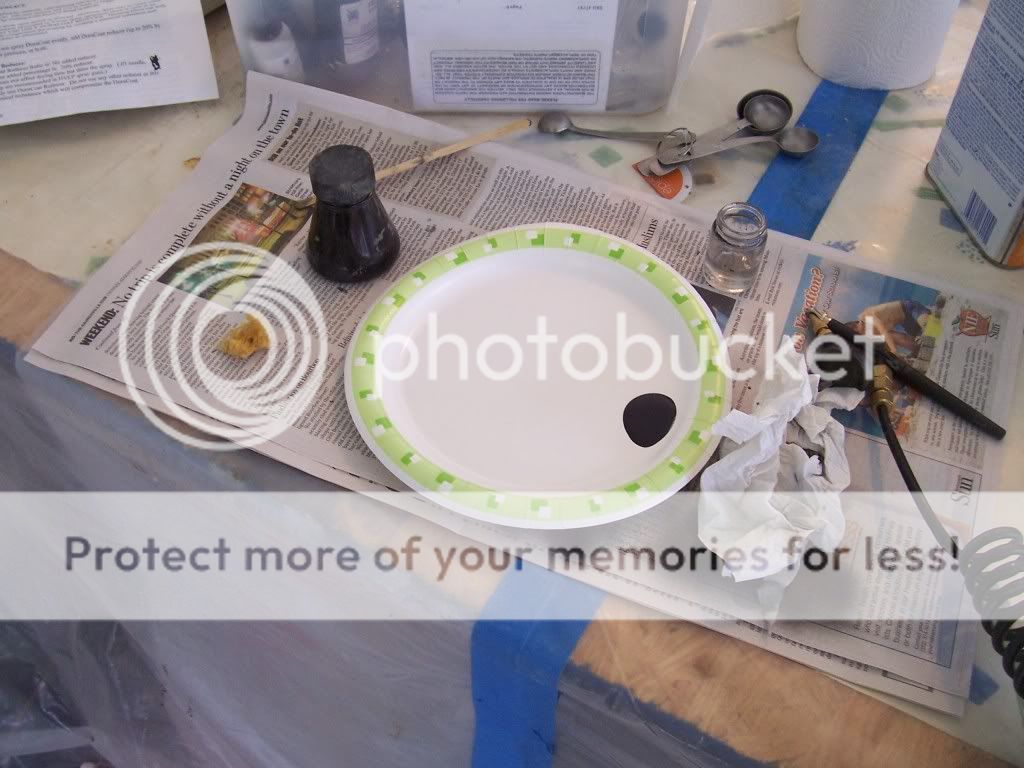
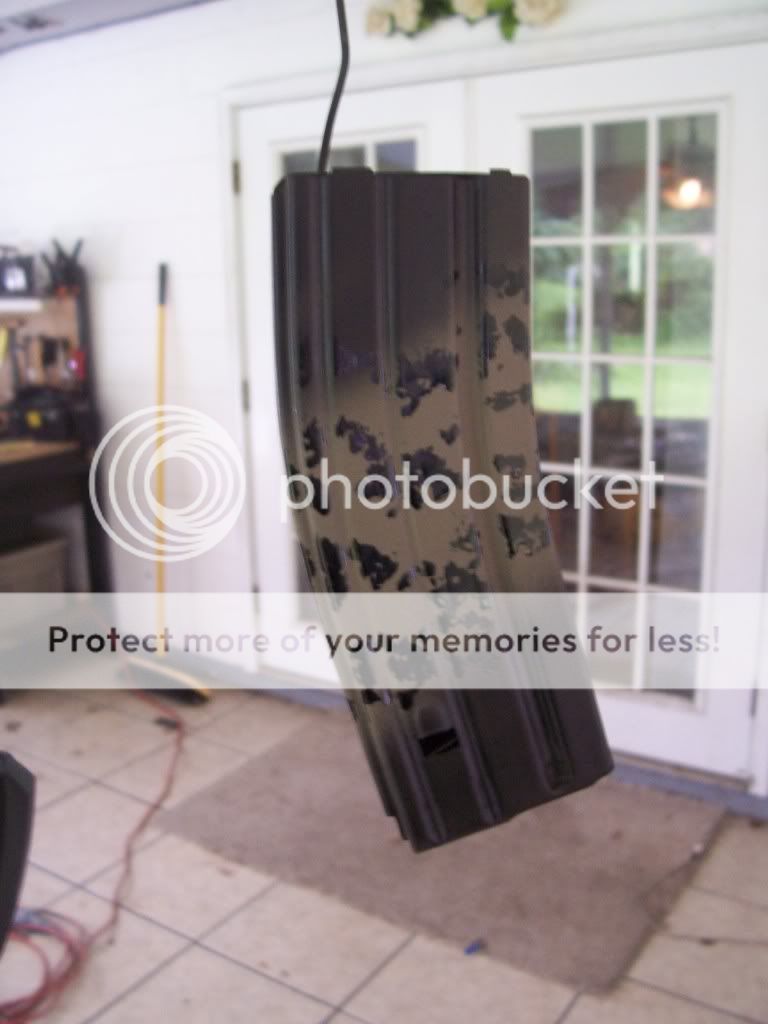
The next step was to spray some of the khaki onto a paper plate, then dip the sponge into the paint and dab the khaki paint onto the OD stripes. Dont go to heavy.

The next step is to take the sponge then dip it in OD paint then dab the OD paint on the kahki. Again don't go to heavy.

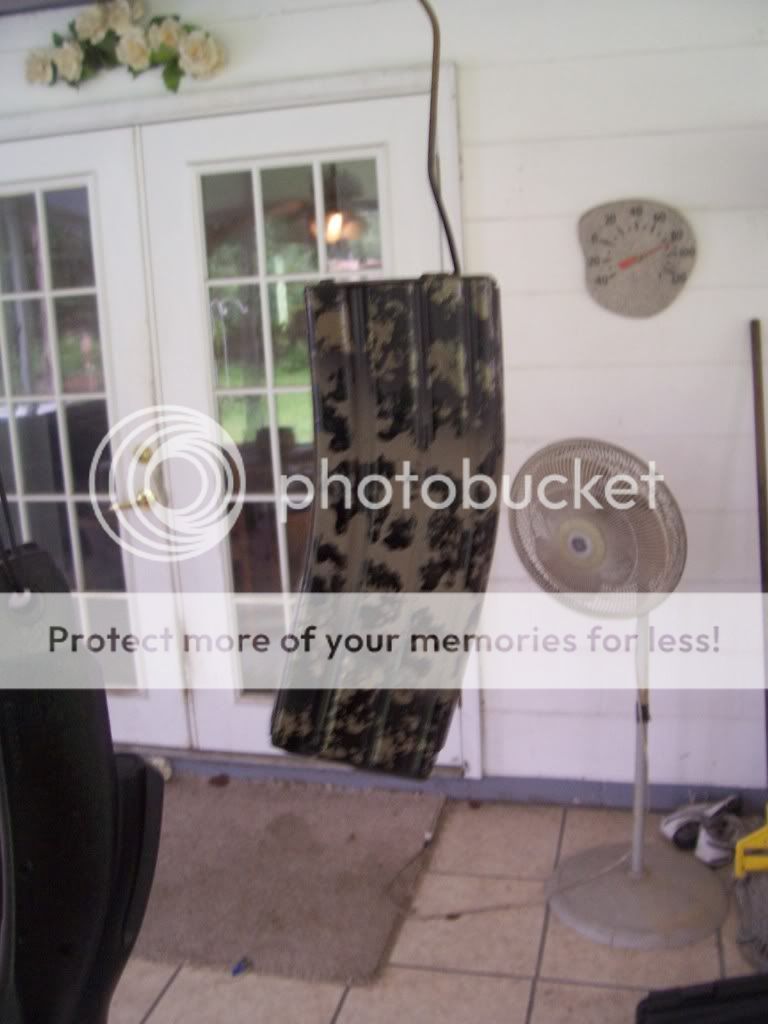
This is what you should have so far- not half bad but we're not done. The next step is to put some Oregano color over the whole thing again using the paper plate and the sponge.

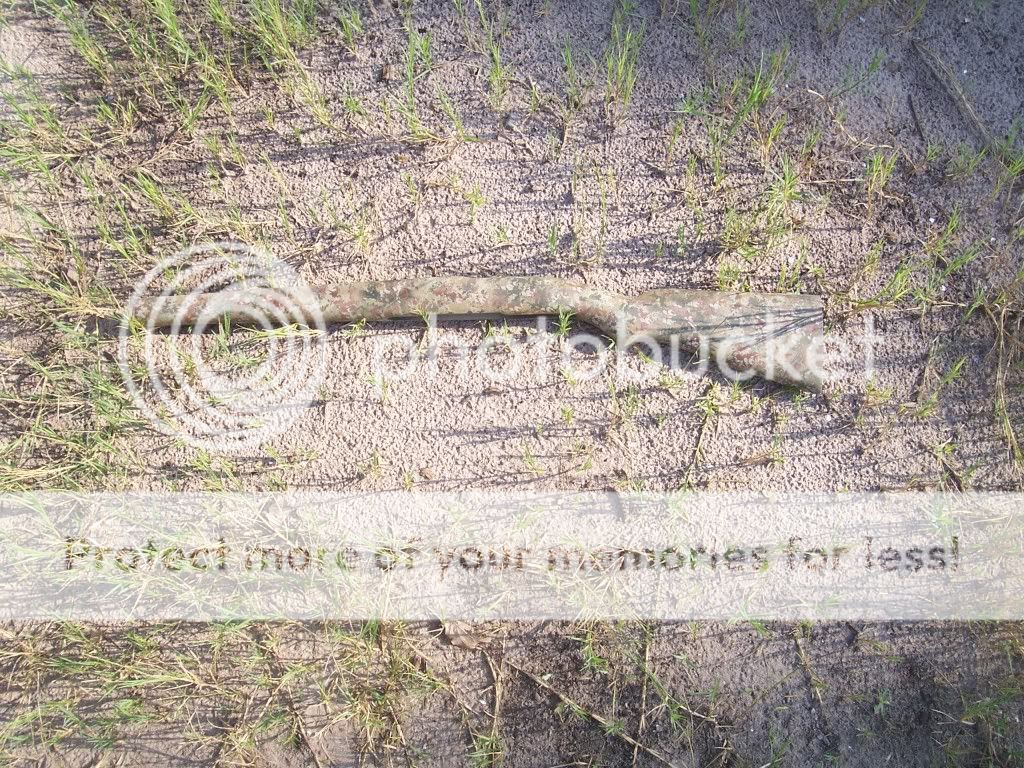
After the Oregano.
I should have left well enough alone at this point but thought it needed some brown or dark tan so I started with a liitle Rustoleum Nutmeg and although its kind of close to the dark tan background in woodland Marpat I thought it was to light. I then followed up with some Rustoleum Chestnut-still to light. So––- I went with Rustoleum Flat Brown. It finished up a little busy but blends in well.
Not bad for a first attempt.
I liked the overall effect and thought that for a rattle can job it looks outstanding.
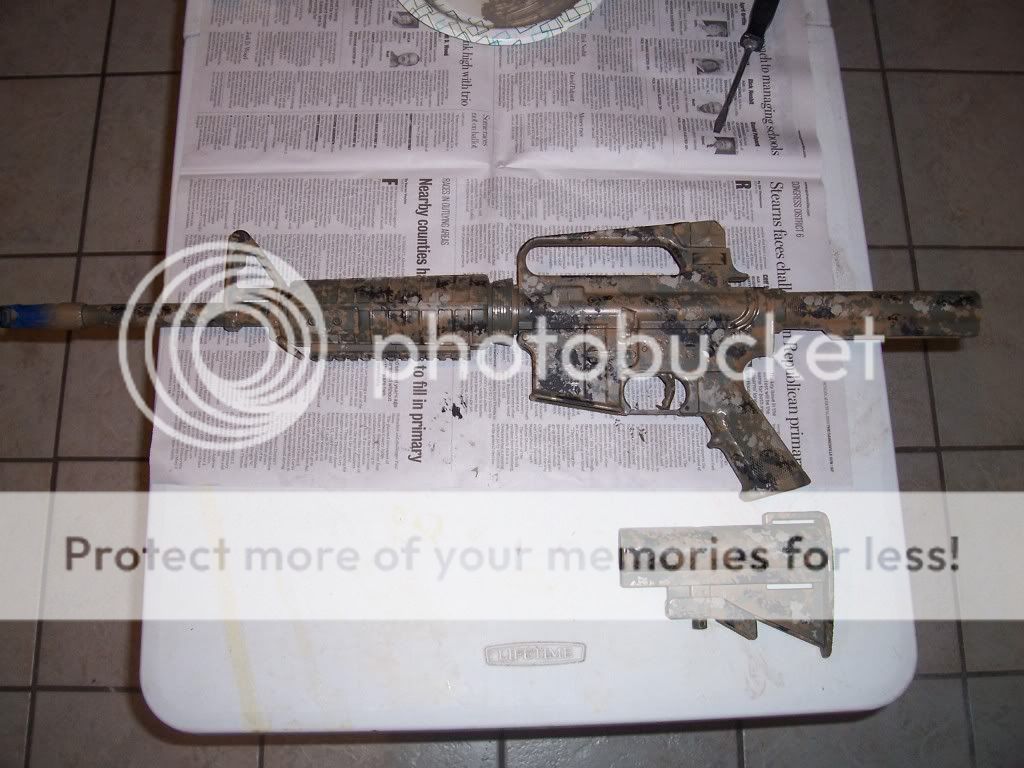
For my next attempt I decided to try an urban type camo consisting of Rustoleum light gray, medium and dark gray primer. The victim is my son's old airsoft gun.

Here is the finished product. It seems that using three colors keeps the pattern a little more open and defined.

I was wondering if it would be possible to use this technique with Duracoat. I've painted with stencils and will continue to do so but this seems like alot of fun and it's not permanent.
The next victim will be one of the ARs.
I wanted to share my experience trying out Sponge Camo and found only a few references on some other forums so I thought I would post a how to.
Materials-
Khaki, OD, and Oregano Rustoleum or Krylon
Sponge-Walmart craft section buy the one that look like natural sponges.
Gloves
A likely victim
I started by painting an old stock with a base coat of khaki.
I then painted random but fairly evenly spaced stripes of OD over the khaki base coat.
The next step was to spray some of the khaki onto a paper plate, then dip the sponge into the paint and dab the khaki paint onto the OD stripes. Dont go to heavy.
The next step is to take the sponge then dip it in OD paint then dab the OD paint on the kahki. Again don't go to heavy.
This is what you should have so far- not half bad but we're not done. The next step is to put some Oregano color over the whole thing again using the paper plate and the sponge.
After the Oregano.

I should have left well enough alone at this point but thought it needed some brown or dark tan so I started with a liitle Rustoleum Nutmeg and although its kind of close to the dark tan background in woodland Marpat I thought it was to light. I then followed up with some Rustoleum Chestnut-still to light. So––- I went with Rustoleum Flat Brown. It finished up a little busy but blends in well.
Not bad for a first attempt.
I liked the overall effect and thought that for a rattle can job it looks outstanding.
For my next attempt I decided to try an urban type camo consisting of Rustoleum light gray, medium and dark gray primer. The victim is my son's old airsoft gun.
Here is the finished product. It seems that using three colors keeps the pattern a little more open and defined.
I was wondering if it would be possible to use this technique with Duracoat. I've painted with stencils and will continue to do so but this seems like alot of fun and it's not permanent.
The next victim will be one of the ARs.


Comment