 Tweet
Tweet
i first posted this a few years ago on another board, so the links may not work. sorry for the inconvenience.
---------------------------------------------------------------------------
so you wanna reload?
i started reloading ammunition for my rifles and pistols about 20 years ago. at the time i wanted the ability to produce my own ammunition after TSHTF (yes, i was a survivalist even way back then). to that end i wanted to be able to make as many of the components as possible. i learned how to make my own primers as well as reload commercial ones, as well as make my own powders, both black powder and smokeless. one thing i wanted to be able to do was make my own brass, but the start up costs are prohibitive. what i COULD do, and started doing right from the start, was cast my own bullets.
in this article i will be covering both reloading as well as casting for both rifles and pistols. i will be discussing the equipment i know best, the majority of it from Lee Precision, and hopefully, giving enough information for those out there who've thought about getting started but didn't know how.
i know there are a bunch of reloaders on the board and, if any of you would like to add your experiences to this thread, please feel free. we can all learn from the experiences of others and different points of view will give the beginners more options. i do ask however that we don't get into debates or arguments over details that don't really matter. this thread is intended to help newbie's get started and confusing them isn't helpful.
with that, i'll start this off with a discussion and links to the different reloading set ups necessary to get started.
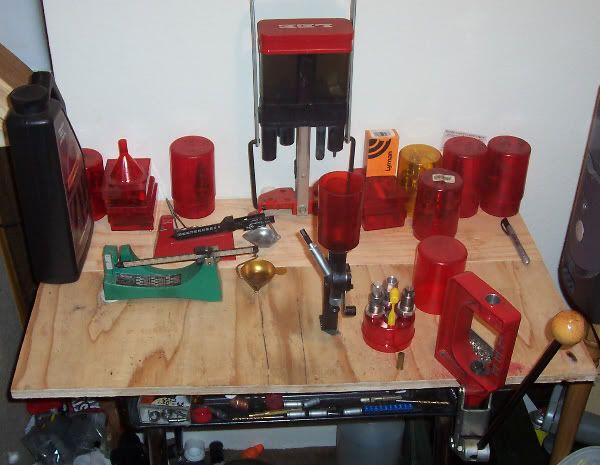
as i said, i prefer Lee Precision for reloading equipment. Lee has been in the reloading business longer than anyone. they make simple, practical equipment designed to do the job well. they don't have some of the frills others do but, when you consider that the most expensive start up kit they have is less than the press alone from everyone else, you'll see that you simply won't be paying for stuff you don't need. i personally have been using the single stage 'challenger' press from Lee for the past 20 years and it's never let me down. it's still good for at least as many years to come, as is all the equipment i've used from them. the ammo i produce is of the highest quality, at least as precise as that turned out by other brands. in fact, i have been loading match quality rifle ammo on it for some years now. some of the other presses like dillon and rcbs may indeed be strong enough to pass down to your grandchildren, but for my money, i'd rather just buy them their own set from Lee.
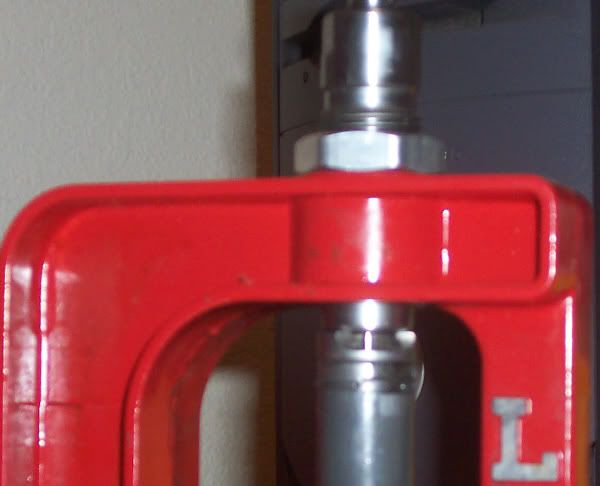
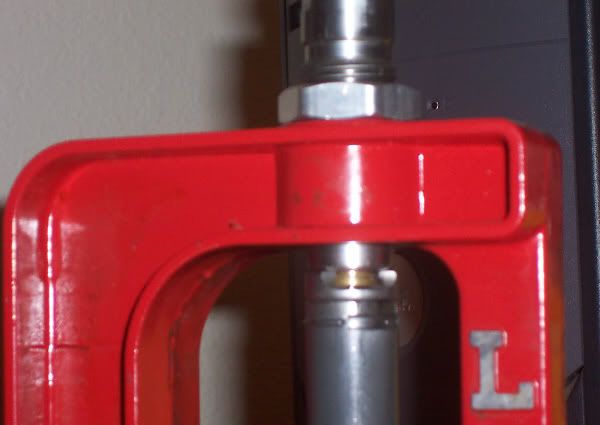
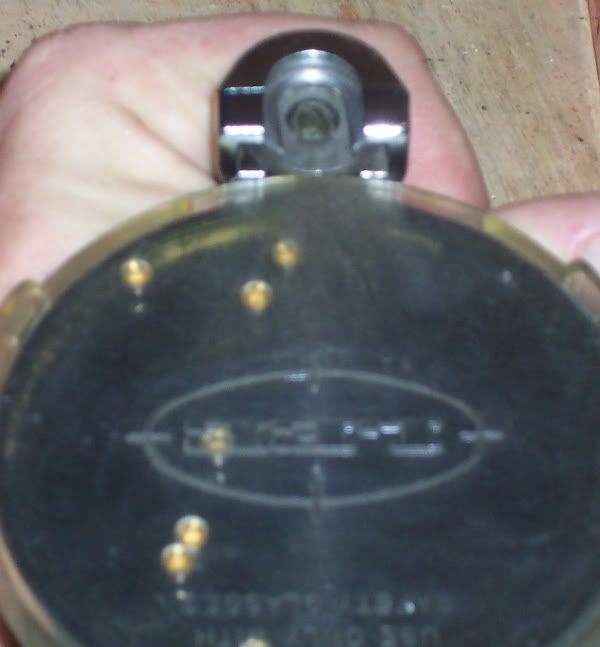
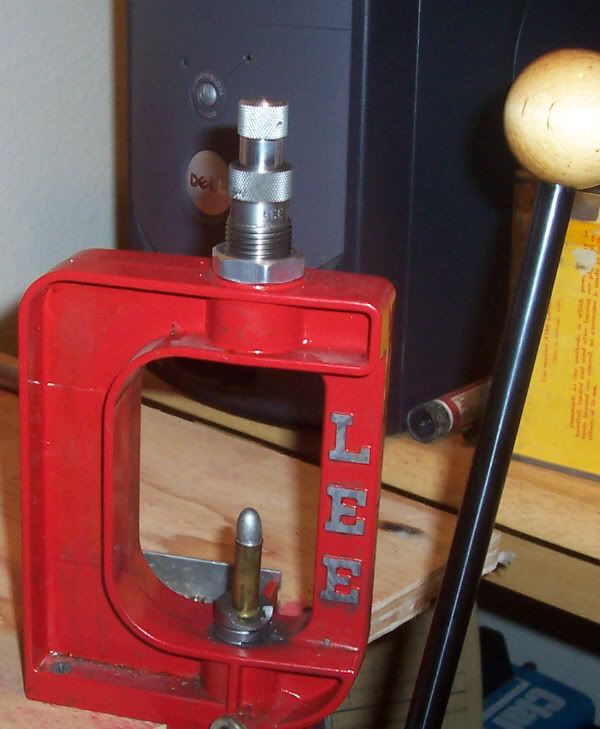
the first complete reloading set ever offered for sale was the Lee Loader (now called the Lee Classic Loader). this is still the cheapest way to get into reloading. it's simple to use and has the ability to turn out high quality ammo, but it's also one of the slowest reloaders made. it has been said that if you're not sure you want to get into loading your own or if you only want to reload a box or two at a time, these kits are perfect (they're perfect for packing in a BOB as they are the smallest and lightest kit available also). here's a pic of a typical Lee Classic loader. all you need to add is a hammer and the components (brass, primers, bullets and powder).

and here's a link to them at Midway USA: http://www.midwayusa.com/esearch.exe..._selector=9315
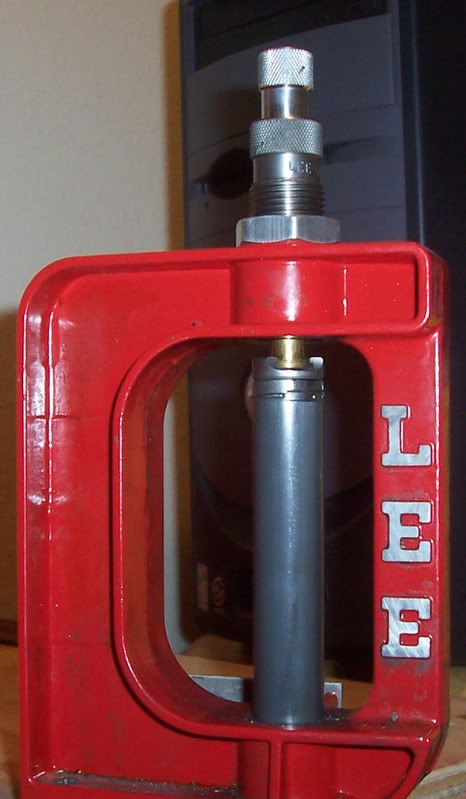
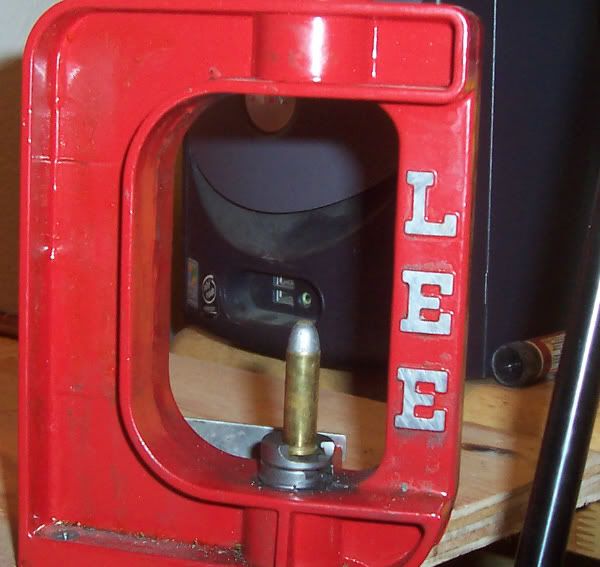
the next kit is great for those who don't have much space. it's also economical as you can get everything you need to get started, including powder, primers and bullets as well as dies for under a hundred dollars. the press isn't mounted so you can use it almost anywhere. even for those who have a mounted press these are great for using out at the range when trying to fine tune your load or simply to perform the sizing, depriming or flaring stages while sitting in front of the TV or computer (as i often do). again, here's the pic and the link:

disregard the $41 price, it's cheaper from midway, here: http://www.midwayusa.com/eproductpag...416&t=11082005
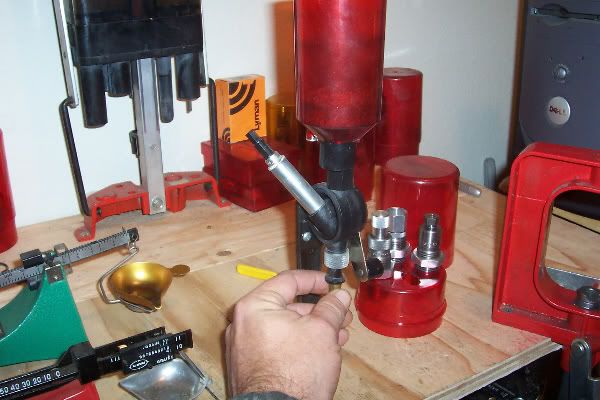
you'll also need dies:
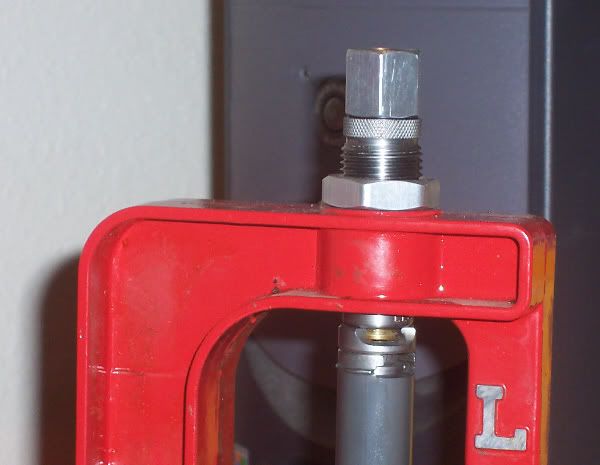
most calibers require three dies to perform all the operations, plus a shell holder. Lee sells their dies for less than half the price of others and they include the shell holder along with a powder scoop and load tables, while others make you buy that stuff separately. also all of Lee's pistol dies have carbide sizing inserts. this is important because resizing brass wears away steel dies and eventually they'll be worn out, unless you lube the cases first. Lee's pistol dies don't need lube and will never wear out because carbide is so much harder than steel. unfortunately no one makes carbide rifle dies so lubing rifle brass is a must if you want to protect your dies.

for a limited time lee still has their speed dies in most pistol calibers. these are GREAT for single stage presses and as a bonus have a carbide sizing die also. scroll down the page and look for 'speed dies' in your caliber, they're going for $20.

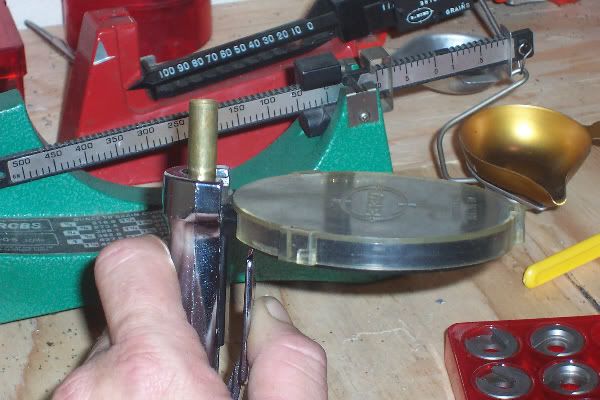
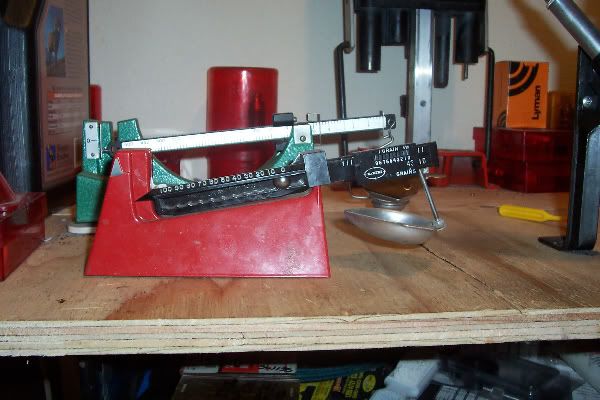
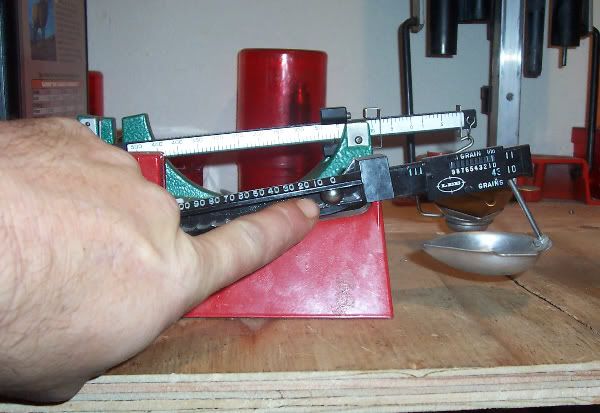
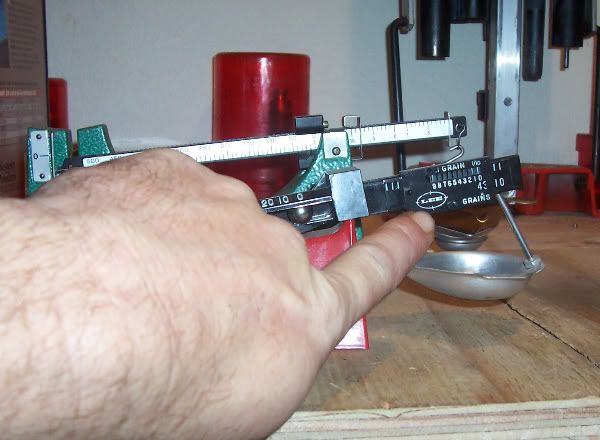
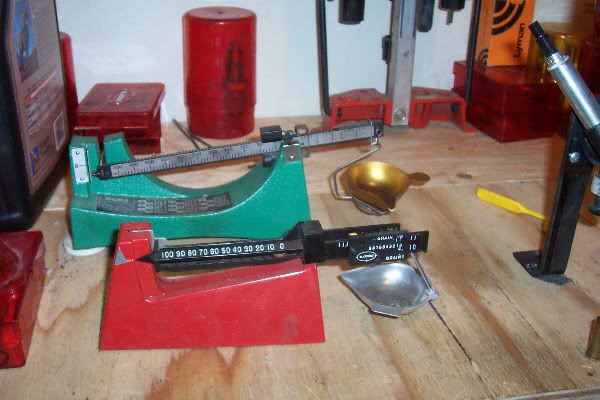
the only way to do something really stupid when loading with a scoop is to decide that, if one scoop is good, two must be even better. seriously, while i was leary of scoops for years, after i started using them i found they're nearly as accurate. also a variation of .1-.2 grains won't make a big difference as long as you're not trying to load to max pressures to begin with. of course, if you MUST have a scale, lee makes one of them also, for around $30.

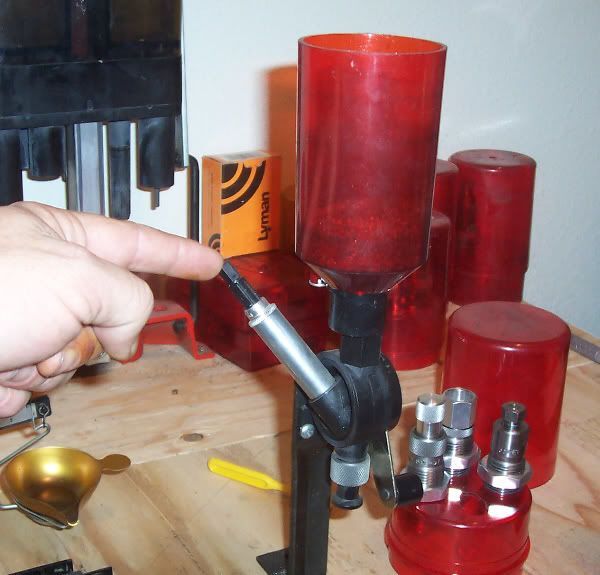
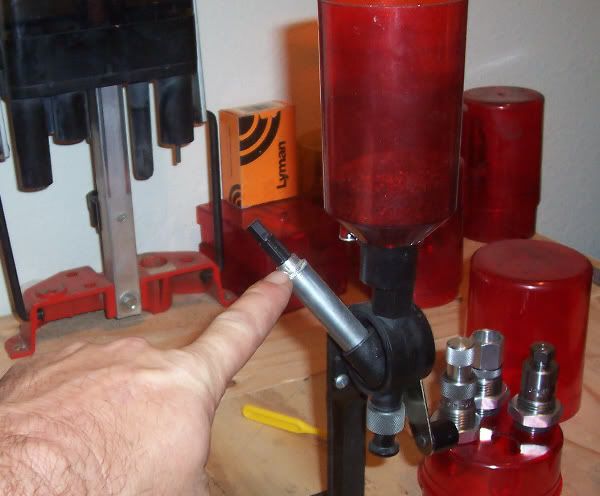
and finally, for those with the room who want the convenience of a table mounted reloading press, there's the Anniversary Breech Lock Reloading kit:

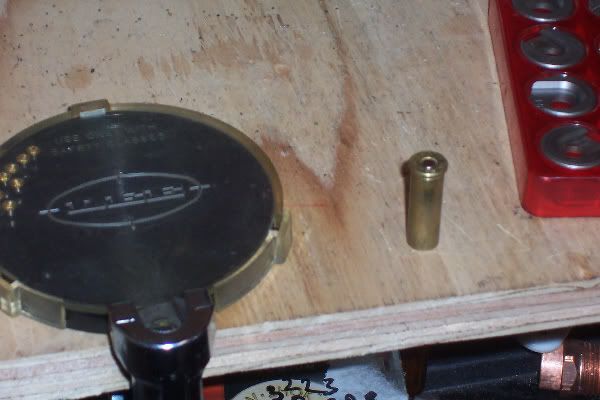
this kit comes with everything necessary to start reloading, along with some items nice to have but not absolutely necessary (including the scale above). the only thing you have to add are dies and components. the powder measure is the most accurate in the industry (i have often loaded several thousand rounds without it varying by as much as .1gr. also included is a primer pocket cleaner, a hand priming tool that has been copied by several other manufacturers, a deburring tool and a case length holder and cutter combo (shell holder and length gauge sold seperately at midway for around $3 for each cartridge). and all this for less than $100. add a set of dies and components and you can get started reloading for less than $150.
in the next post i will begin to cover the steps necessary to reload ammunition.
---------------------------------------------------------------------------
so you wanna reload?
i started reloading ammunition for my rifles and pistols about 20 years ago. at the time i wanted the ability to produce my own ammunition after TSHTF (yes, i was a survivalist even way back then). to that end i wanted to be able to make as many of the components as possible. i learned how to make my own primers as well as reload commercial ones, as well as make my own powders, both black powder and smokeless. one thing i wanted to be able to do was make my own brass, but the start up costs are prohibitive. what i COULD do, and started doing right from the start, was cast my own bullets.
in this article i will be covering both reloading as well as casting for both rifles and pistols. i will be discussing the equipment i know best, the majority of it from Lee Precision, and hopefully, giving enough information for those out there who've thought about getting started but didn't know how.
i know there are a bunch of reloaders on the board and, if any of you would like to add your experiences to this thread, please feel free. we can all learn from the experiences of others and different points of view will give the beginners more options. i do ask however that we don't get into debates or arguments over details that don't really matter. this thread is intended to help newbie's get started and confusing them isn't helpful.
with that, i'll start this off with a discussion and links to the different reloading set ups necessary to get started.
as i said, i prefer Lee Precision for reloading equipment. Lee has been in the reloading business longer than anyone. they make simple, practical equipment designed to do the job well. they don't have some of the frills others do but, when you consider that the most expensive start up kit they have is less than the press alone from everyone else, you'll see that you simply won't be paying for stuff you don't need. i personally have been using the single stage 'challenger' press from Lee for the past 20 years and it's never let me down. it's still good for at least as many years to come, as is all the equipment i've used from them. the ammo i produce is of the highest quality, at least as precise as that turned out by other brands. in fact, i have been loading match quality rifle ammo on it for some years now. some of the other presses like dillon and rcbs may indeed be strong enough to pass down to your grandchildren, but for my money, i'd rather just buy them their own set from Lee.
the first complete reloading set ever offered for sale was the Lee Loader (now called the Lee Classic Loader). this is still the cheapest way to get into reloading. it's simple to use and has the ability to turn out high quality ammo, but it's also one of the slowest reloaders made. it has been said that if you're not sure you want to get into loading your own or if you only want to reload a box or two at a time, these kits are perfect (they're perfect for packing in a BOB as they are the smallest and lightest kit available also). here's a pic of a typical Lee Classic loader. all you need to add is a hammer and the components (brass, primers, bullets and powder).
and here's a link to them at Midway USA: http://www.midwayusa.com/esearch.exe..._selector=9315
the next kit is great for those who don't have much space. it's also economical as you can get everything you need to get started, including powder, primers and bullets as well as dies for under a hundred dollars. the press isn't mounted so you can use it almost anywhere. even for those who have a mounted press these are great for using out at the range when trying to fine tune your load or simply to perform the sizing, depriming or flaring stages while sitting in front of the TV or computer (as i often do). again, here's the pic and the link:
disregard the $41 price, it's cheaper from midway, here: http://www.midwayusa.com/eproductpag...416&t=11082005
you'll also need dies:
most calibers require three dies to perform all the operations, plus a shell holder. Lee sells their dies for less than half the price of others and they include the shell holder along with a powder scoop and load tables, while others make you buy that stuff separately. also all of Lee's pistol dies have carbide sizing inserts. this is important because resizing brass wears away steel dies and eventually they'll be worn out, unless you lube the cases first. Lee's pistol dies don't need lube and will never wear out because carbide is so much harder than steel. unfortunately no one makes carbide rifle dies so lubing rifle brass is a must if you want to protect your dies.
for a limited time lee still has their speed dies in most pistol calibers. these are GREAT for single stage presses and as a bonus have a carbide sizing die also. scroll down the page and look for 'speed dies' in your caliber, they're going for $20.
the only way to do something really stupid when loading with a scoop is to decide that, if one scoop is good, two must be even better. seriously, while i was leary of scoops for years, after i started using them i found they're nearly as accurate. also a variation of .1-.2 grains won't make a big difference as long as you're not trying to load to max pressures to begin with. of course, if you MUST have a scale, lee makes one of them also, for around $30.
and finally, for those with the room who want the convenience of a table mounted reloading press, there's the Anniversary Breech Lock Reloading kit:
this kit comes with everything necessary to start reloading, along with some items nice to have but not absolutely necessary (including the scale above). the only thing you have to add are dies and components. the powder measure is the most accurate in the industry (i have often loaded several thousand rounds without it varying by as much as .1gr. also included is a primer pocket cleaner, a hand priming tool that has been copied by several other manufacturers, a deburring tool and a case length holder and cutter combo (shell holder and length gauge sold seperately at midway for around $3 for each cartridge). and all this for less than $100. add a set of dies and components and you can get started reloading for less than $150.
in the next post i will begin to cover the steps necessary to reload ammunition.
Comment