 Tweet
Tweet
many people reload for years using store bought jacketed or cast bullets. being a cheap bugger i wanted to make my own. there are two ways to do this, the super expensive way is to swage, or use intense pressure to force the lead into the shape of a bullet. the other way is to melt the lead and cast the bullets with a mold. this way is MUCH less expensive. being cheap (frugal?) i chose the latter.
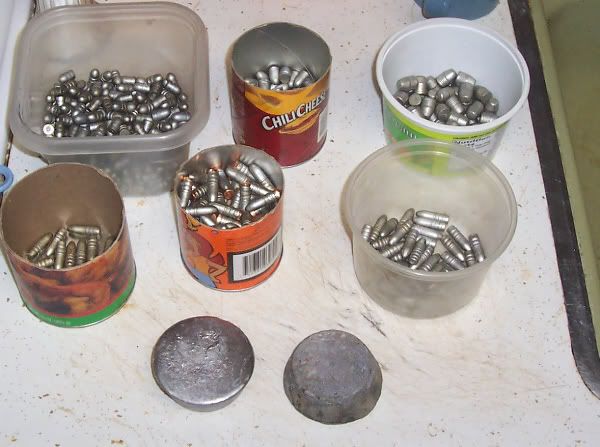
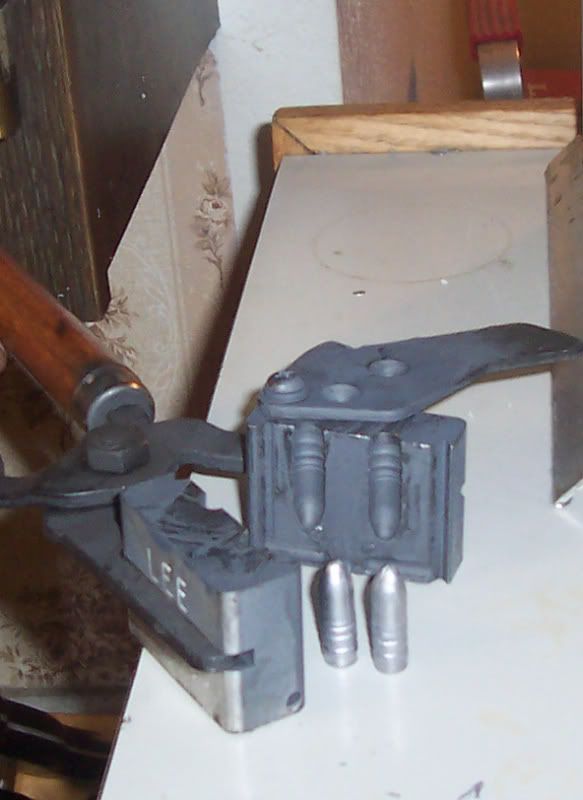
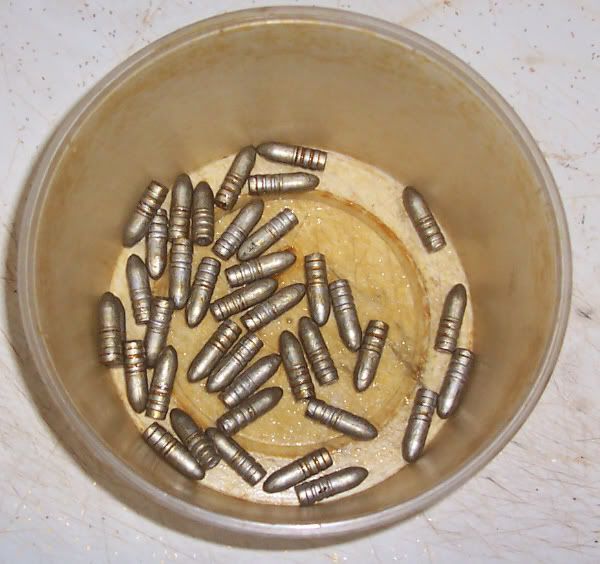
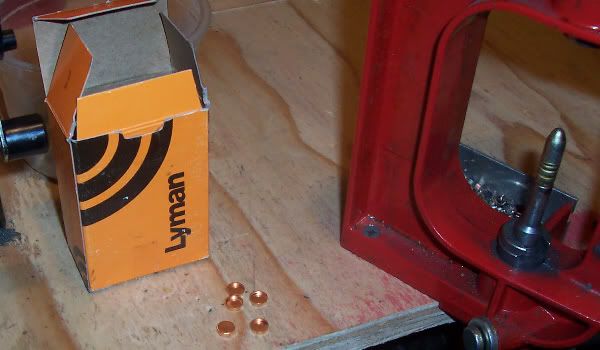
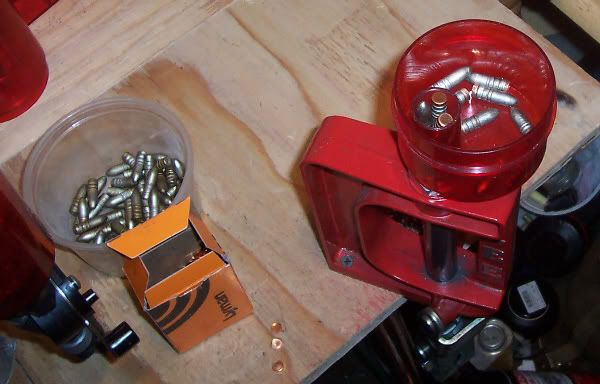
first off, here's a selection of the bullets i cast. there are also ingots there. ingots are useful for preparing the mix and fluxing it before hand. you could buy an ingot mold, but i simply use a steel muffin pan. i coat it with the same graphite i use for a mold release and it works just fine.
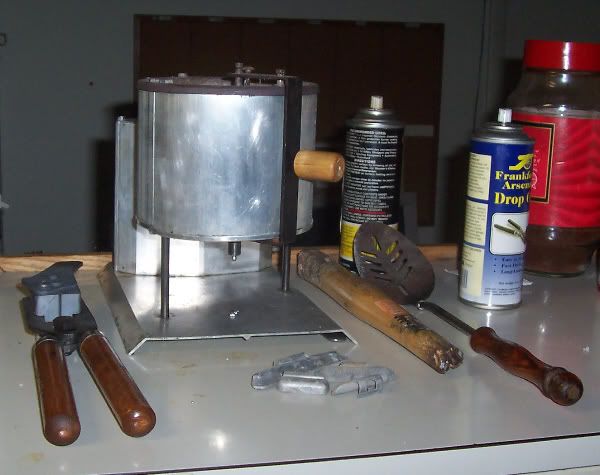
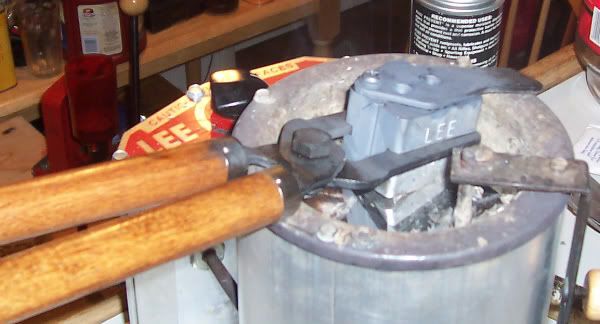
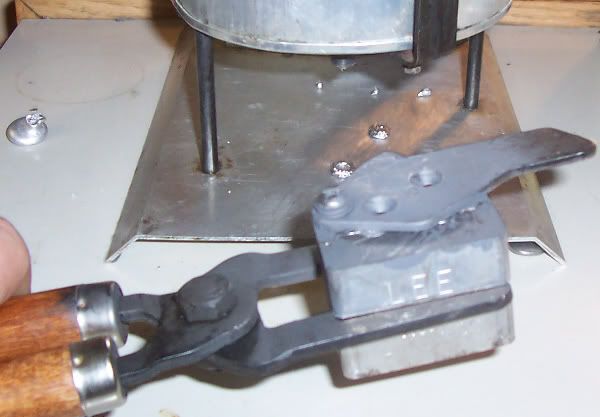
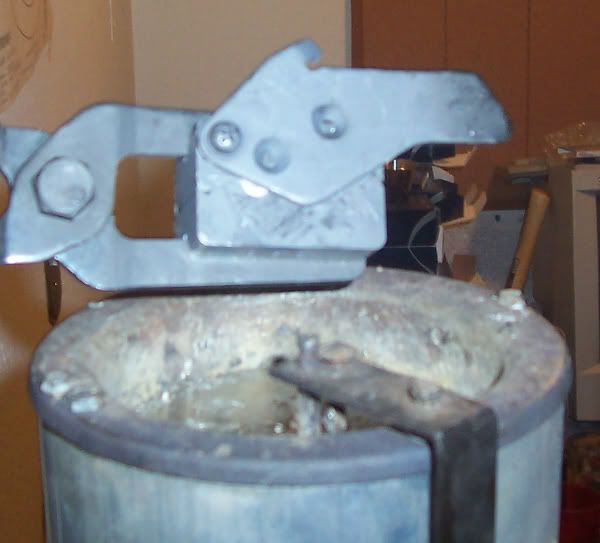
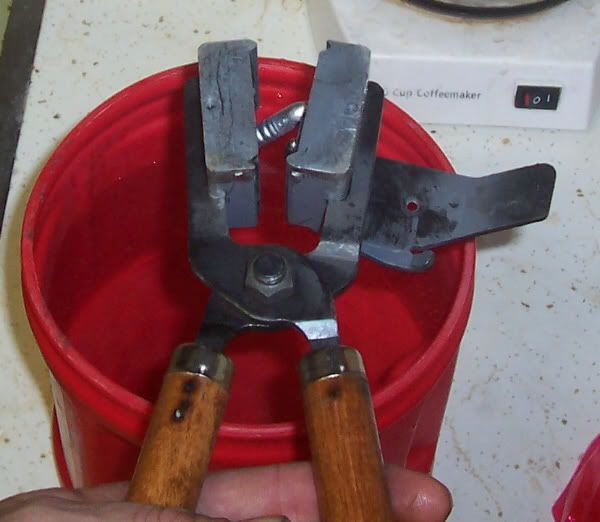
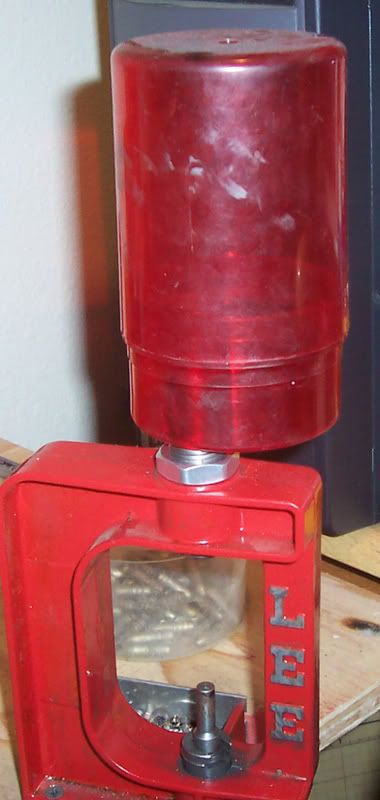
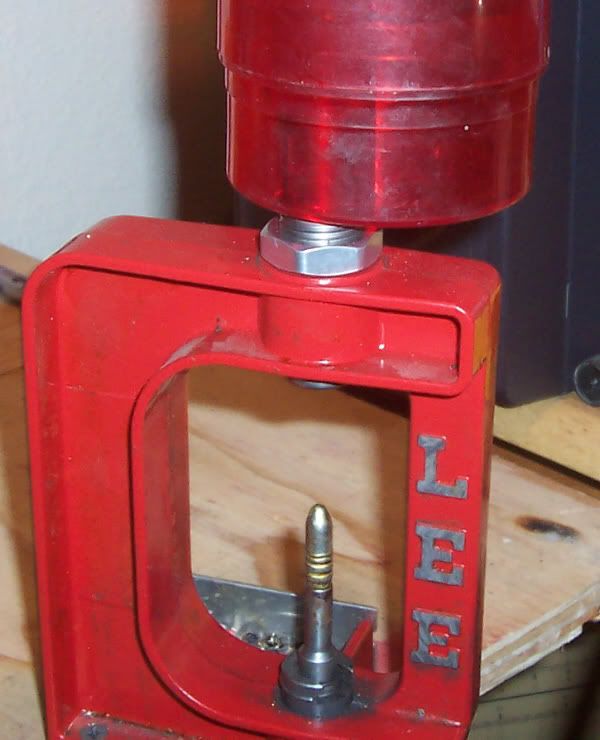
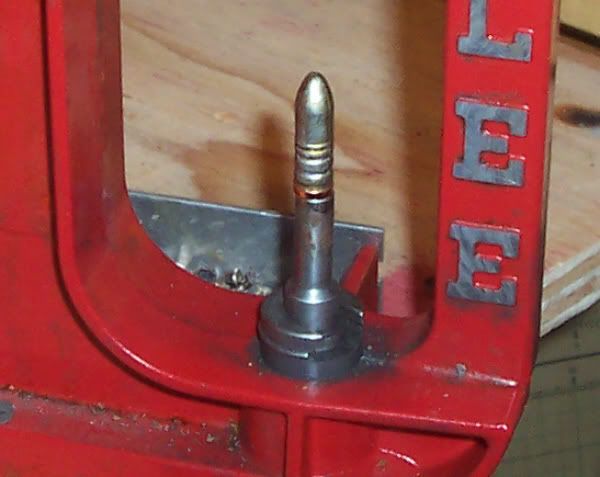
here are the various components necessary for casting. in the center is the melting pot, or furnace. this one from Lee holds 20lbs of lead and pours from the bottom. it lists for $60 at midway usa, here: http://www.midwayusa.com/eproductpag...810&t=11082005 . to the left is one of the molds, available here: http://www.midwayusa.com/esearch.exe...r=all_products . lee molds are inexpensive and cast very precisely. they're milled from aluminum. i prefer them to iron molds because the heat up and cool down fast. there is no need to set them aside to cool after making the pour like with iron molds.
in front of the pot are some wheel weights available at most tire change places. i have around half a ton of them here at the house. that sounds like a lot, but in reality it goes quickly...be sure to stock up. to the right is a can of 'drop out' graphite spray. it is used to coat the mold so the bullets drop out when cast. also on the right are a wooden dowel used to open the sprue plate and a metal slotted spoon to skim the dross (junk that floats to the top) off the lead.
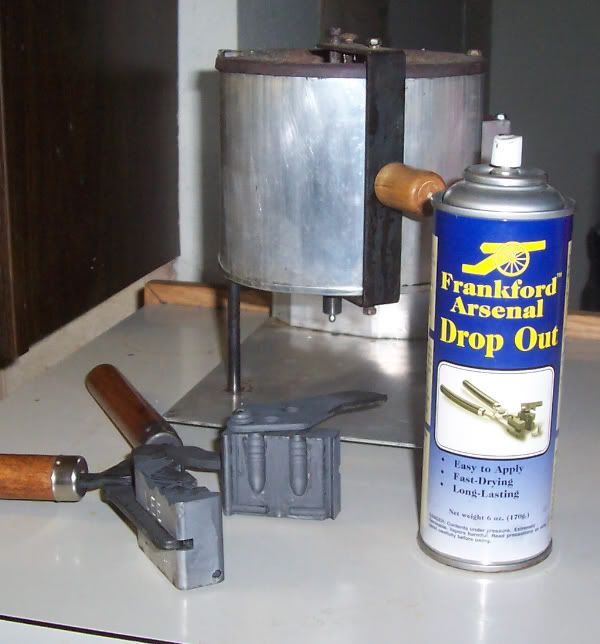
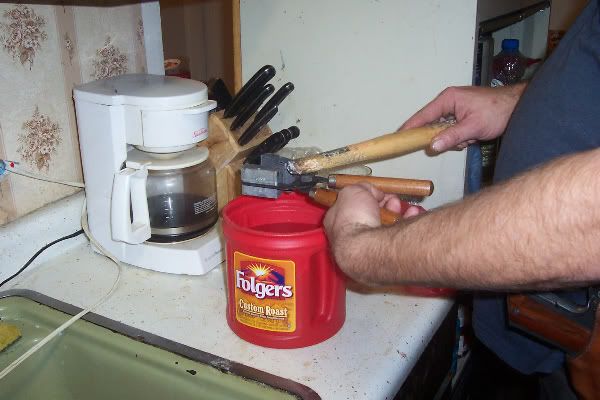
when your mold first arrives it will be coated with a light oil. this must be removed before casting. to do so spray it down inside and out with brake cleaner and let it dry. next you need to coat the cavities and bearing surfaces with a lubricant that won't burn off. this allows the cast bullets to drop free when the mold is opened. traditionally soot from a flame was used for this. to use that method simply open the mold and, using a lighter or match, let the soot from the flame coat the cavity well. don't use a candle as the soot is different and doesn't work as well. the other method and the one that i prefer is the graphite spray. in this pic you can see that not only are the cavities coated, but the bearing faces of the mold as well as the sprue plate (the metal plate on top of the mold).
once the mold is prepared it's time to melt the lead. most of us use wheel weights as they're virtually free for the taking. another good reason is they aren't pure lead, but have other metals like antimony and bismuth added to make them harder. the harder your bullets are the less they will leave lead in your barrel.
place the wheel weights in the furnace and turn it to maximum.
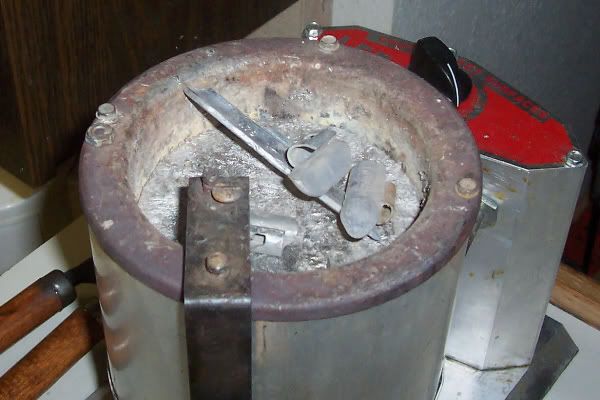
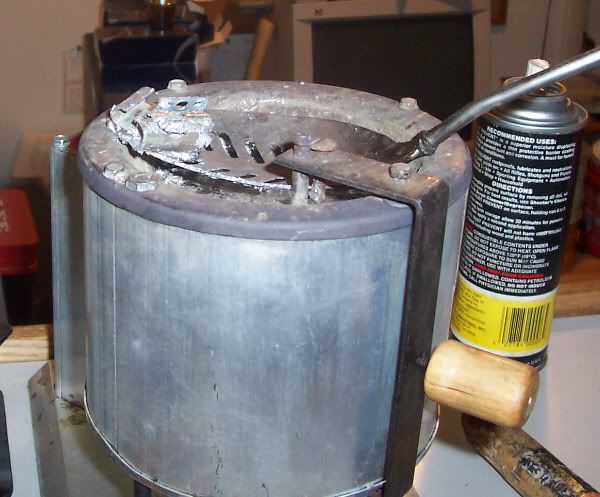
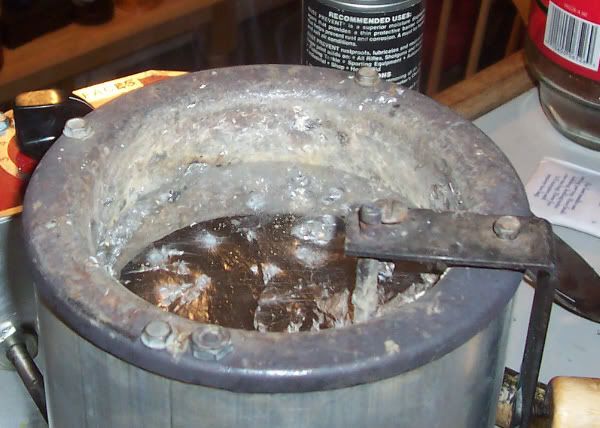
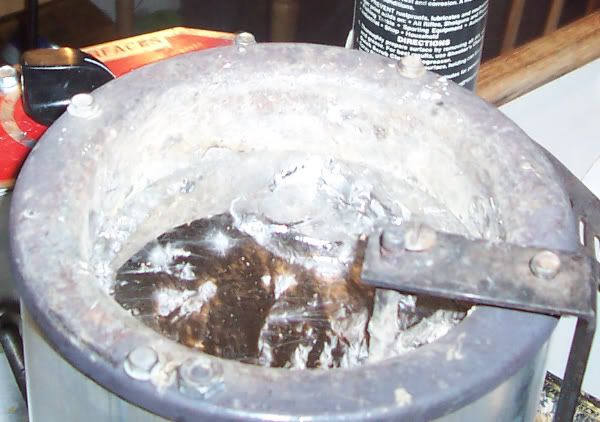
after 20-30 minutes the metal will have melted and the steel clips will be floating on the surface. using the metal spoon, skim these off and deposit them in a metal container to cool.
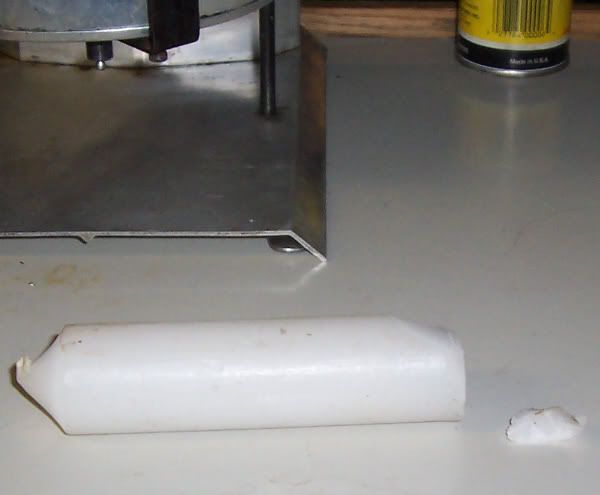
next you need to flux the mix. flux causes contaminants in the metal like dirt to rise to the top. it also forces the different metals to bind together. you can buy flux specifically made for bullet casting, but paraffin wax works just as well (most of the commercial flux is made to reduce the smoke you get by using wax). cut a sliver of wax off a candle and simply drop it in the metal.
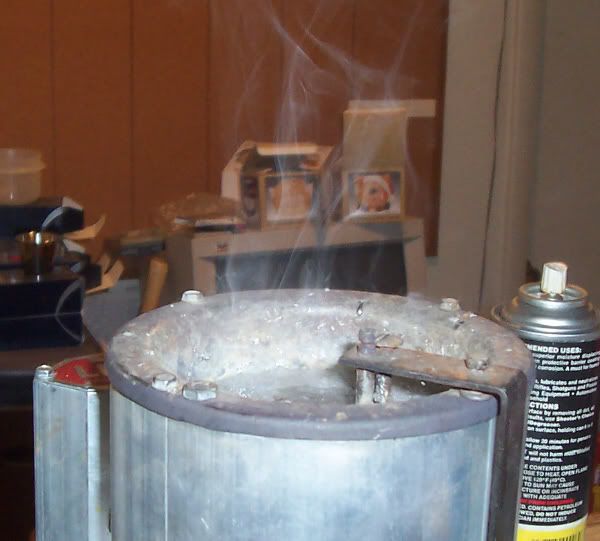
the wax will begin to smoke immediately.
immediately begin to stir the lead gently with the spoon to mix it.
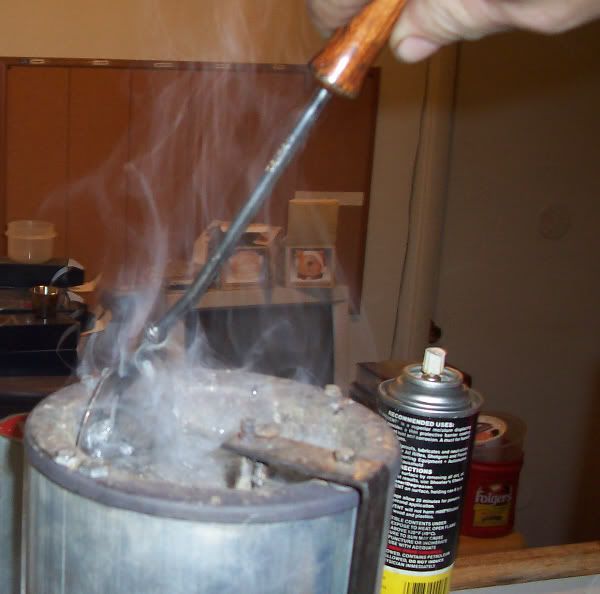
*note - the wax may ignite from the heat, this is not a problem. the fire will remain in the pot and will not affect the fluxing.
after the smoke has stopped, use the spoon to skim the dross (the crap that was released by the flux and is floating on the top) off and dump in in the container with the clips. the surface of the lead should have a shiny, mirror like finish now.
first off, here's a selection of the bullets i cast. there are also ingots there. ingots are useful for preparing the mix and fluxing it before hand. you could buy an ingot mold, but i simply use a steel muffin pan. i coat it with the same graphite i use for a mold release and it works just fine.
here are the various components necessary for casting. in the center is the melting pot, or furnace. this one from Lee holds 20lbs of lead and pours from the bottom. it lists for $60 at midway usa, here: http://www.midwayusa.com/eproductpag...810&t=11082005 . to the left is one of the molds, available here: http://www.midwayusa.com/esearch.exe...r=all_products . lee molds are inexpensive and cast very precisely. they're milled from aluminum. i prefer them to iron molds because the heat up and cool down fast. there is no need to set them aside to cool after making the pour like with iron molds.
in front of the pot are some wheel weights available at most tire change places. i have around half a ton of them here at the house. that sounds like a lot, but in reality it goes quickly...be sure to stock up. to the right is a can of 'drop out' graphite spray. it is used to coat the mold so the bullets drop out when cast. also on the right are a wooden dowel used to open the sprue plate and a metal slotted spoon to skim the dross (junk that floats to the top) off the lead.
when your mold first arrives it will be coated with a light oil. this must be removed before casting. to do so spray it down inside and out with brake cleaner and let it dry. next you need to coat the cavities and bearing surfaces with a lubricant that won't burn off. this allows the cast bullets to drop free when the mold is opened. traditionally soot from a flame was used for this. to use that method simply open the mold and, using a lighter or match, let the soot from the flame coat the cavity well. don't use a candle as the soot is different and doesn't work as well. the other method and the one that i prefer is the graphite spray. in this pic you can see that not only are the cavities coated, but the bearing faces of the mold as well as the sprue plate (the metal plate on top of the mold).
once the mold is prepared it's time to melt the lead. most of us use wheel weights as they're virtually free for the taking. another good reason is they aren't pure lead, but have other metals like antimony and bismuth added to make them harder. the harder your bullets are the less they will leave lead in your barrel.
place the wheel weights in the furnace and turn it to maximum.
after 20-30 minutes the metal will have melted and the steel clips will be floating on the surface. using the metal spoon, skim these off and deposit them in a metal container to cool.
next you need to flux the mix. flux causes contaminants in the metal like dirt to rise to the top. it also forces the different metals to bind together. you can buy flux specifically made for bullet casting, but paraffin wax works just as well (most of the commercial flux is made to reduce the smoke you get by using wax). cut a sliver of wax off a candle and simply drop it in the metal.
the wax will begin to smoke immediately.
immediately begin to stir the lead gently with the spoon to mix it.
*note - the wax may ignite from the heat, this is not a problem. the fire will remain in the pot and will not affect the fluxing.
after the smoke has stopped, use the spoon to skim the dross (the crap that was released by the flux and is floating on the top) off and dump in in the container with the clips. the surface of the lead should have a shiny, mirror like finish now.

Comment