 Tweet
Tweet
Part 1
When we started construction on our house I brought in an old 20' sea can for secure storage of tools and materials while we were not on site. The can wasn't in great shape, but was structurally sound and a decent deterent from thieves and vandals. Now that the house and barn are built I no long needed the storage near our house. I do however need a place in a remote pasture to store miscellaneous equipment and feed - preferably out of sight. What better way than burying it? I can't think of any.
The can:
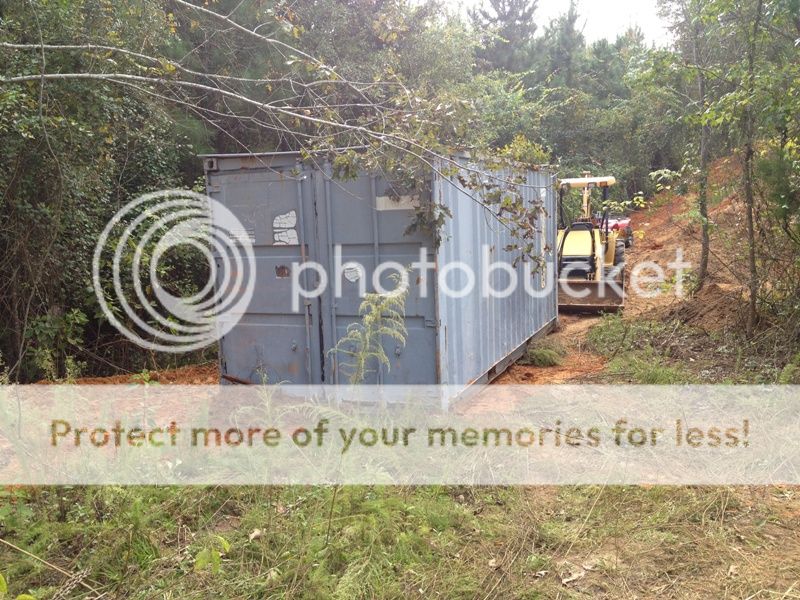
I was going to coat this with cool seal or tar before putting it under the ground, but I changed my mind after seeing that there were 3 coats of paint in place than were still in decent condition. It had a few nicks and rusted spots in the paint that were covered with rust stop and tar.
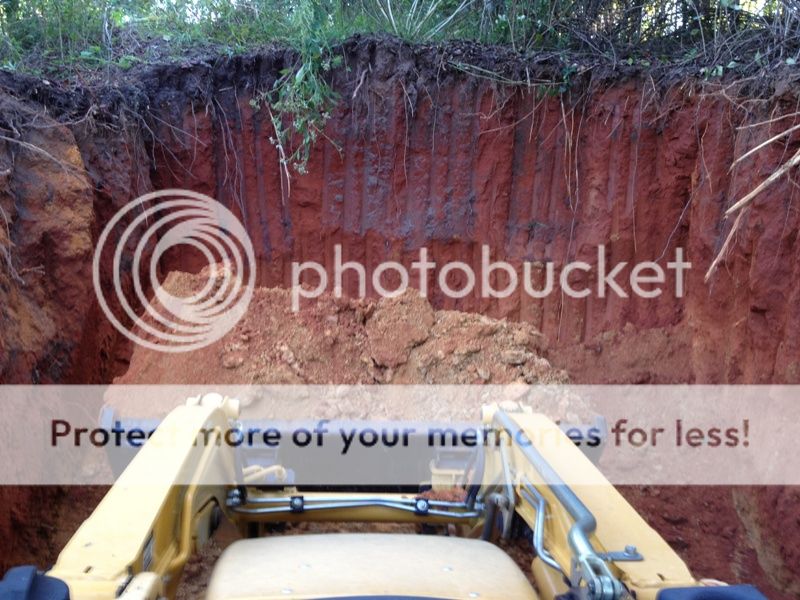
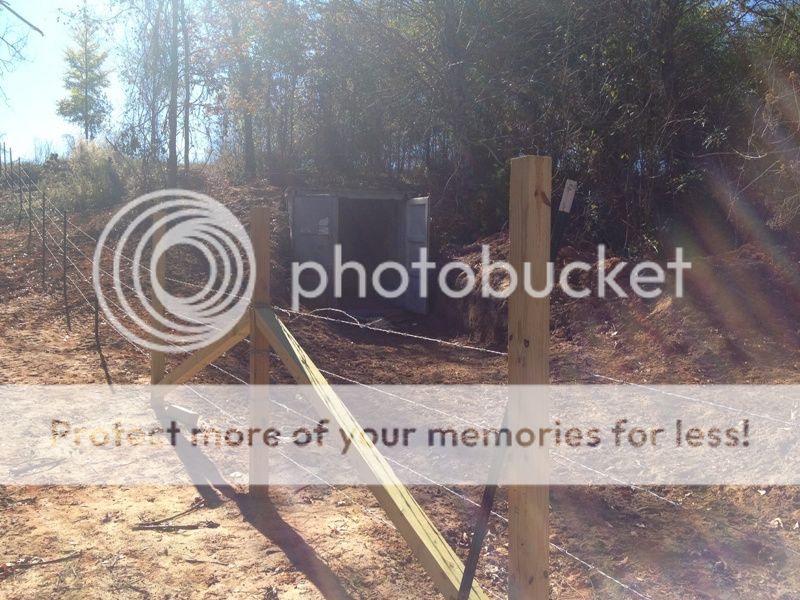
The first step was picking a site that was out of sight from the road running by the pasture. I still need to be able to pull the tractor up to the doors to unload heavy items so putting it entirely underground with only top access was not desireable. For this reason I chose a hillside with sufficient slope to bury the rear and still have access to the front, but not so steep that I couldn't complete the excavation with our small backhoe.

Our backhoe is a ditch-digger, not an earthmover. Excavation took about a day and a half.
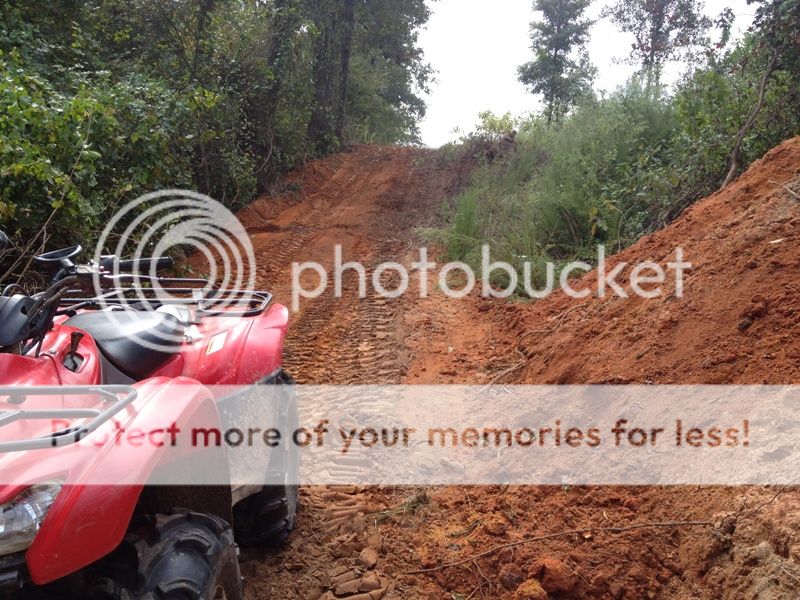
I don't have a crane or boom truck big enough to lift and set the can in place, so we had to improvise with a new makeshift road coming down the hillside. I used the excavation dirt to fill uneven places on the route in.
I made sure to keep the bottom of the excavation at a slight angle so water will run out from under the can. This angle wasn't taken into consideration originally and I had to dig a little further into the hill than I had anticipated. This is going to leave me with about a 15 foot cut in the hill that will have to be contained to keep the dirt from washing in front of the doors.
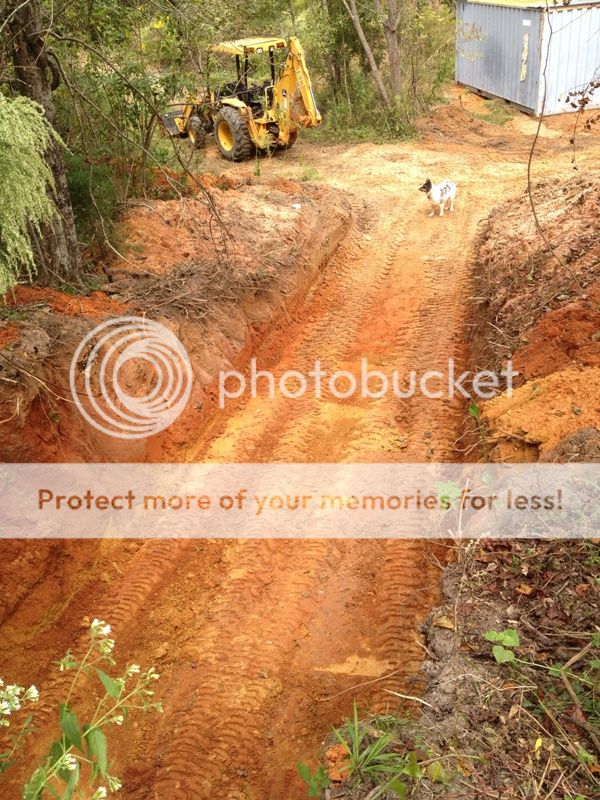
The best way to reduce backfill pressure on the sides of the can is to disturb as little of the surrounding soil as possible. This also means that you have to keep the can absolutely straight as it is pushed in the opening. This proved to be much more challenging than I anticipated. I ended up having to connect several towing chains together and pulling the rear of the can from up the hill with a truck while pushing the front with the tractor at the same time.
So far I have the sides backfilled, and very little dirt on the top. The next step will be to reinforce the ceiling to handle the weight of the dirt on top.
The pic uploads have just about burned up my internet for the night...lol
Part 2 to follow....
When we started construction on our house I brought in an old 20' sea can for secure storage of tools and materials while we were not on site. The can wasn't in great shape, but was structurally sound and a decent deterent from thieves and vandals. Now that the house and barn are built I no long needed the storage near our house. I do however need a place in a remote pasture to store miscellaneous equipment and feed - preferably out of sight. What better way than burying it? I can't think of any.
The can:
I was going to coat this with cool seal or tar before putting it under the ground, but I changed my mind after seeing that there were 3 coats of paint in place than were still in decent condition. It had a few nicks and rusted spots in the paint that were covered with rust stop and tar.
The first step was picking a site that was out of sight from the road running by the pasture. I still need to be able to pull the tractor up to the doors to unload heavy items so putting it entirely underground with only top access was not desireable. For this reason I chose a hillside with sufficient slope to bury the rear and still have access to the front, but not so steep that I couldn't complete the excavation with our small backhoe.
Our backhoe is a ditch-digger, not an earthmover. Excavation took about a day and a half.
I don't have a crane or boom truck big enough to lift and set the can in place, so we had to improvise with a new makeshift road coming down the hillside. I used the excavation dirt to fill uneven places on the route in.
I made sure to keep the bottom of the excavation at a slight angle so water will run out from under the can. This angle wasn't taken into consideration originally and I had to dig a little further into the hill than I had anticipated. This is going to leave me with about a 15 foot cut in the hill that will have to be contained to keep the dirt from washing in front of the doors.
The best way to reduce backfill pressure on the sides of the can is to disturb as little of the surrounding soil as possible. This also means that you have to keep the can absolutely straight as it is pushed in the opening. This proved to be much more challenging than I anticipated. I ended up having to connect several towing chains together and pulling the rear of the can from up the hill with a truck while pushing the front with the tractor at the same time.
So far I have the sides backfilled, and very little dirt on the top. The next step will be to reinforce the ceiling to handle the weight of the dirt on top.
The pic uploads have just about burned up my internet for the night...lol
Part 2 to follow....
Comment